
Welcome to the first day of the 12 Days of Christmas in July blog hop! I am excited to share my pillow sham tutorial with you and hope you will also visit Carole at From My Carolina Home and Sharon at Vroomans Quilts to see what they have made. You can see the full line up of blogs here. If you leave us all comments on our featured days you will be entered to win a prize and there will be prizes for each day of the hop! Be sure to also swing by and thank Sarah at Confessions of a Fabric Addict for putting all this together.
Pillow shams are a great way to use up scraps and practice free-motion quilting (FMQ). I made my pillow sham to fit a 16 inch pillow form, wanting something larger to cuddle with during the winter. Winter seems very far away at the moment with this 100° weather!
I used 1.5-inch strips of Christmas fabric to create strippy half-square triangle blocks that finished at 4 inches, then arranged them in a pinwheel pattern according to my husband's input (he said it made him happy, which is important of course).

I then basically made a table runner that measured 16.5 inches by 35.5 inches unfinished. You can see I added a 3.5 inch strip to one end of my top, this was to make it long enough to overlap in the back.

Here is a good shot of my FMQ. I was able to do a continuous line pattern so I only had to bury a couple threads, a very nice time saver!
After your top is quilted, trim the batting leaving a quarter inch of batting around the edges. Then bind the short ends.

Place the quilted piece right side up on the table. Fold the end that you want to see when the sham is turned right side out approximately 8 inches towards the center. With the pattern I used I folded it two blocks width.

Then fold the other side in so that there is about a 3-inch overlap. Again, with the pattern I used I folded two blocks width plus the strip.

Here is a close-up of the overlap.

I have found I like to clip my edges together using Wonder Clips for the next sewing step because it's pretty thick with four layers of fabric and two layers of batting, and even more so where the flaps overlap. Using a walking foot, sew a straight seam about half an inch from the edge (I used the edge of my walking foot as measurement). Take your time as you go over the bound ends so you don't break a needle. I also suggest backstitching a couple times where the bound ends are to strengthen where the sham will experience the most stress when putting the pillow form in.
Next, trim the corners down so that they will be less bulky when turned inside out. Then sew a wide zigzag along the edge to clean it up and keep the fabric from fraying.

Here is a close-up of my stitching. The long straight stitch right next to the zigzag is my basting stitch, not the stitch to enclose the pillow sham.

All that is left is to turn the pillow sham inside out!

View from the back.

View from the front.
I hope you will try making a pillow sham using this method. Send me a photo if you do! My email is brandizzle7133 at gmail dot com.
Remember to leave a comment on our blogs as you visit to be entered in the giveaways. There are twelve(!) prizes to be won!
If you need comment inspiration, how about telling me your favorite small, homemade Christmas gift to give or receive, I'm always looking for more ideas!
Merry Christmas in July!
~Brandy
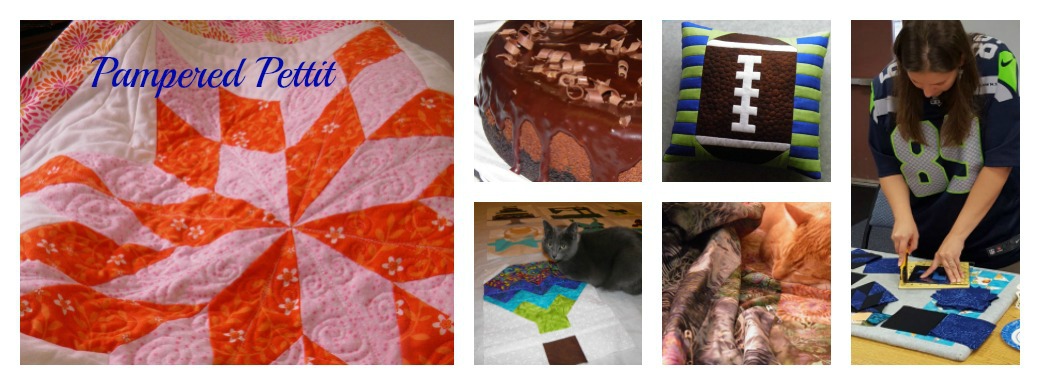
And in case anyone was wondering where the quilt inspectors were during this process, well you can find them near a window, soaking up as much sunshine as possible!

Linking up to Let's Bee Social at Sew Fresh Quilts

207 comments:
«Oldest ‹Older 201 – 207 of 207Thanks for the new-to-me idea of how to do a pillow sham!
Your FMQ is awesome! Your helpful hints are great for this project. Thanks for sharing!
Awesome technique to make a pillow--thanks for sharing!
I love your pillow idea! I have lots of old Christmas fabrics that I don't really like and this would let me cut small enough pieces that they wouldn't be 'ugly ' anymore!
Great pillow, I love it. beimborn@charter.net
you are right, this is a great way to practice FMQ. love your pillow. thanks for sharing today. my quilt inspector likes to sit under my sewing machine in the sun also. they are so fun.
quilting dash lady at comcast dot net
Very fun and festive pillow cover. Thanks for the great tutorial.
Post a Comment