Welcome blog hoppers! I am thrilled to be participating in a blog hop again after 3 years, oh holy cow that went by quickly. Thank you so much Carla for letting me join in again!
I absolutely love to quilt but when I'm not quilting, I am in the kitchen baking and occasionally cooking too.
John and I celebrated our 11th wedding anniversary by cooking together this year, it was great!
This last weekend I made some specially decorated sugar cookies for my aunt's bridal shower, they were Strawberry Lemonade flavored with lemon royal icing and were a big hit. I absolutely love the joy I get from seeing people enjoy eating something I have made.
I also really love aprons, and as you can see I have a couple here:
L to R: Easter apron from mom, houndstooth apron I made in high school home ec 18 years ago, 2 Pampered Chef aprons I earned when I was a consultant, summer/fall double sided apron mom made me, and Christmas/blue backed apron Grandma Linda made me. I rotate through them all throughout the year!Then I came across this incredible kitchen-themed fabric at our LQS about a month ago (Kiss the Cook by Michael Miller) and I just knew it would be perfect to make another apron to add to my collection, and I am really excited with how it turned out! I love that it's double sided too.
I made my apron as a large nine-patch made with 10" squares, then changed my mind and cut the side squares in half to make it closer to the usual apron shape. We made a similar one for my mom a few years ago but with 9" squares but left the pieces whole and she loves how it wraps around her. The pieced blocks I used are Colored Wheel blocks from the Quilter's Cache website.
If you've never made an apron before, there are a couple ways to go about it. The method I used for this one creates a double-sided apron, which you CAN add pockets to before sewing the two sides together, but I completely forgot on this one. I can always add some after the fact if I decide I need to, but I rarely use them. Here are some photos of me pinning the pieces together before sewing:Remember to pin the ends of your apron strings to the center before trying to sew around the edges! I also baste the apron strings in place by sewing back and forth across the strings 2-3 times inside the 1/4" seam allowance.I found that by taping my solid piece of fabric to my cutting table I eliminated shift while I was pinning them together, which was amazing for when I went to sew around the outside edges. And I pinned about 3/4" in from the edges so I could leave the pins in until I was finished sewing. Then just turn it inside out and topstitch 1/8" around the outside edge to close the hole you turn through and give it that finishing touch!Cookies anyone?
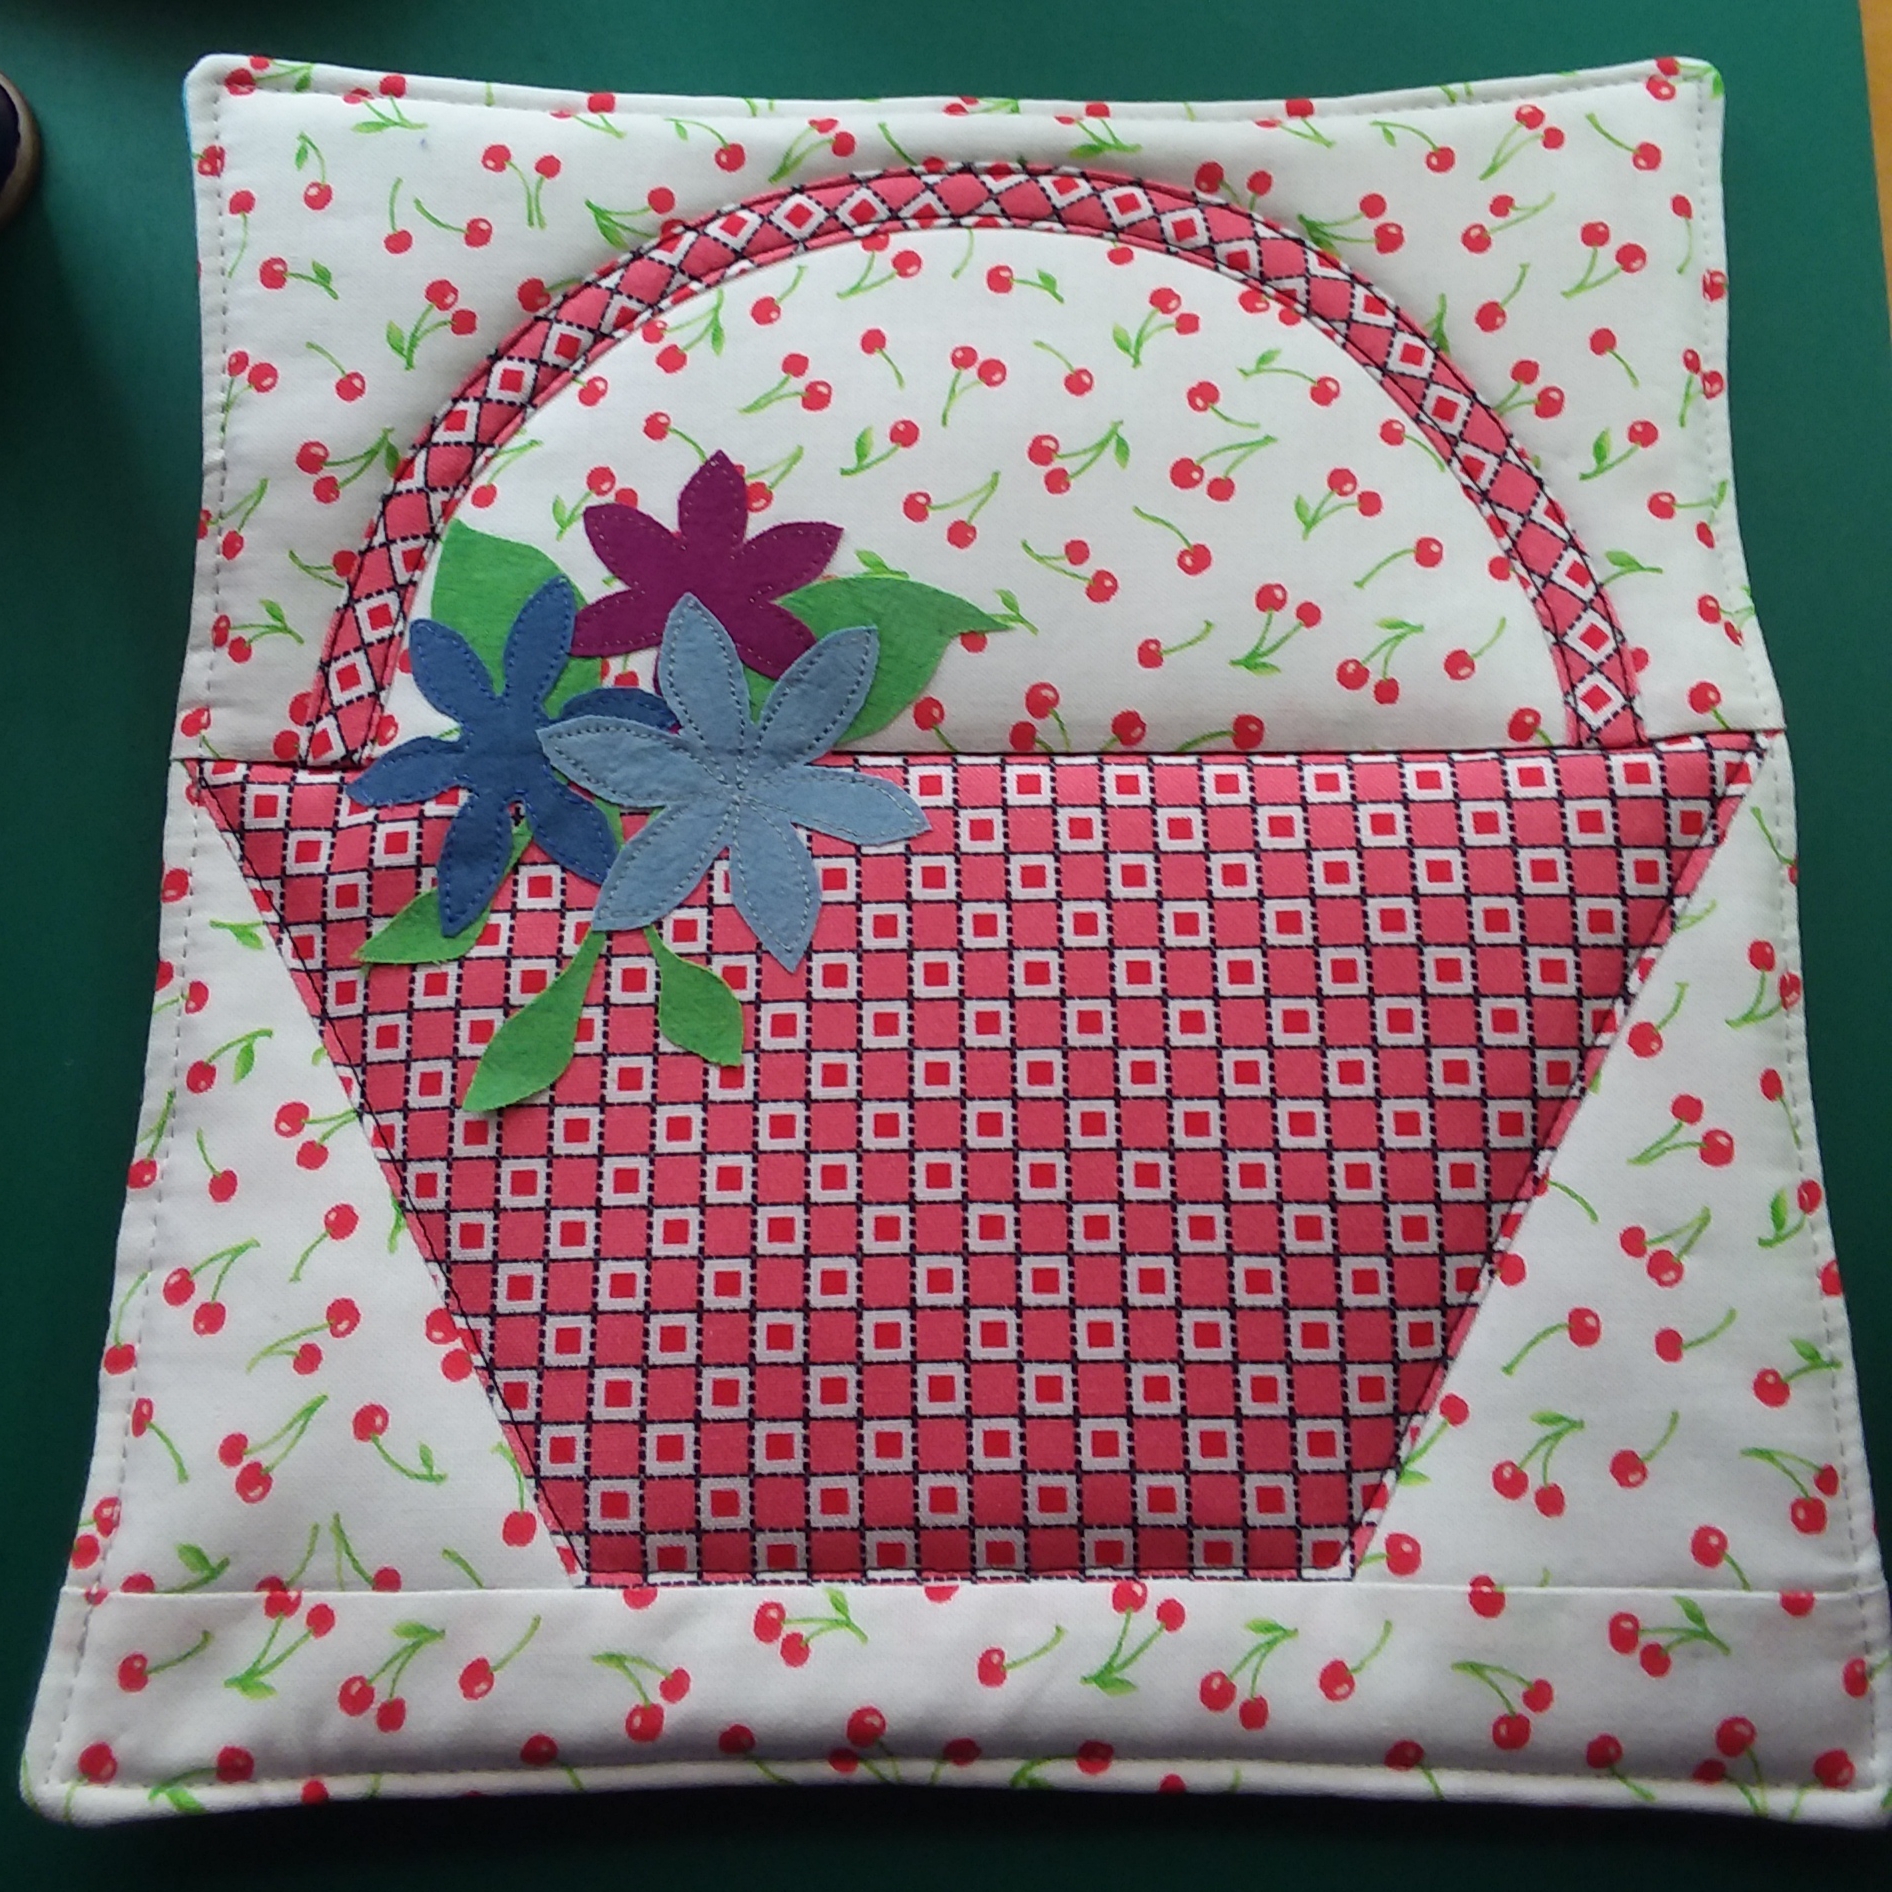
I had a few scraps leftover from piecing my blocks for the apron so I also put together a cute little hotpad! I may have a hard time using it though, it's so pretty...
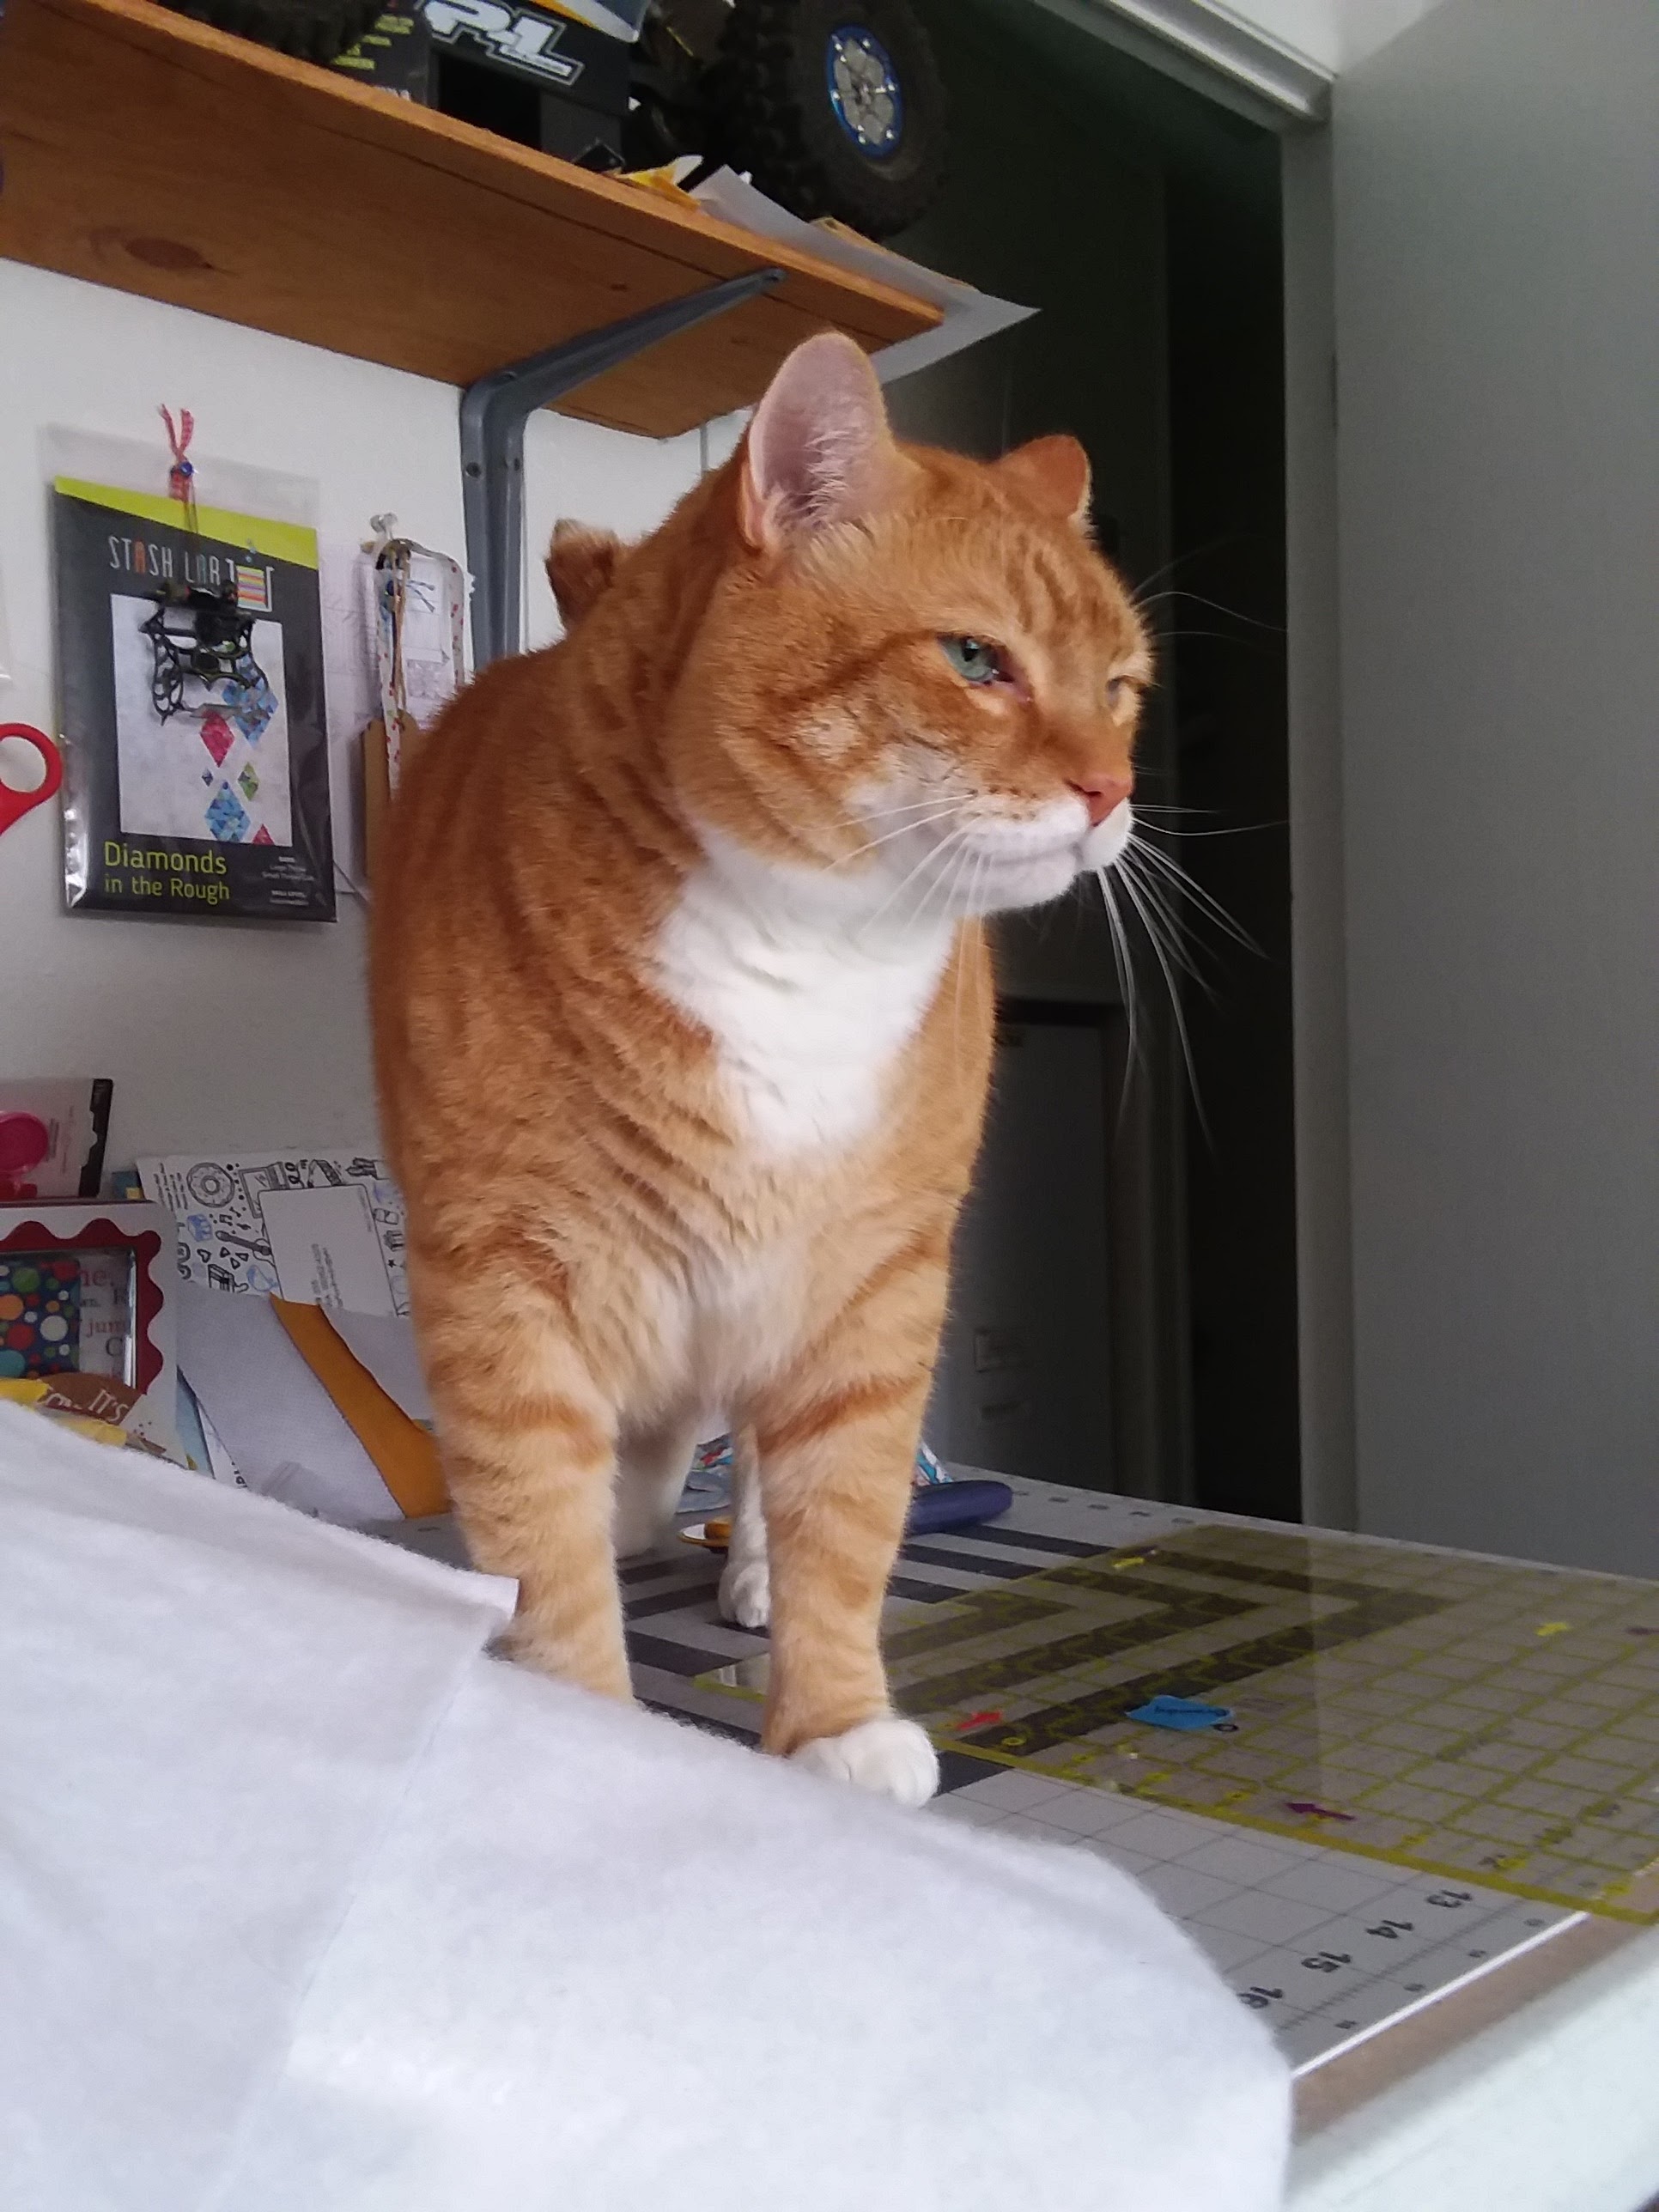
Thomas kept a watchful eye over all the activity until I took notice of him, then he fell asleep. He also enjoys keeping tabs as we cook, you know, in case wayward chicken pieces find there way into his mouth.
Thank you so much for stopping by! I hope you feel inspired to go out and make yourself a new happy apron to wear in the kitchen while creating goodness to share with others!
Please be sure to visit the other bloggers posting today and see my previous post for the list of the whole week's worth of bloggers.
Thursday, May 26th
Have a wonderful day!