Showing posts with label jeans. Show all posts

Saturday, May 21, 2016

Anniversary, a Yarn Shop, a Top Done, and Pets on Quilts!

John and I celebrated our 5th anniversary last Saturday, and mainly chose to just spend time together.


We went to the Tri-Cities, which is the closest thing we have to a big city in this corner of Washington, and wandered around the mall, Craft Warehouse, the motorcycle shop, and even went up to Prosser and visited the Sewing Basket.  I am pretty excited about the pillow case kit I bought, it's Coca-Cola fabric.  Their kit selection has grown immensely!  I only noticed because I managed to trip over a pile of them at one point.
 

As we were driving around I spotted a strip mall behind an Albertson's in Richland, and John said we should go explore the shops, as there was a specialty bicycle shop as well as a yarn shop.  The yarn shop was amazing!  Check this out:
 
http://badgermountainyarns.com/

 
http://badgermountainyarns.com/products/
They have a fabulous variety of color and type, I highly recommend visiting their website.  I linked the photos so you can click on any of them to be taken there.  And if you're nearby, I stop in and visit with the ladies and Winston the shop dog.  Nothing beats handling the fibers in person, or seeing the vibrancy of the colors.

http://badgermountainyarns.com/products/
We met Debra and Holly Folger when we stopped in, and Debra taught us about drop spindles, which I had not heard of before.  It was fascinating for me.

 
These vases and bowls are being made by a friend of Debra's (Robert Skiba is his name) and she's selling them for him.  I guess he was going to just throw them away... NOOO!  I'm so glad she talked him out of doing so.  I love this white and black one.  I ended up buying a skein of Merino Wool, the tag says "malabrigo" as the brand name.  I am not well versed in yarns, but I do crochet on occasion and this wool is SUPER soft, so I am making a surprise for my mom.  I have decided I want some red and green for myself, maybe enough to make a small lap blanket with, I am loving the feel of this wool.
 
My sister's birthday was Thursday, and I got the top of her quilt complete and given to her, as well as a pillowcase.  She got to keep the pillowcase, I made her give me back the top...
 
It was really windy after dinner, so this was Jen's initial way of displaying her quilt top.

She is only showing half of the quilt, it turned out to be a great size!  Lengthwise it will cover a person head to toe, sideways it can cover two people on the couch nicely.  She's excited for it to be finished up.  I just need to work on cutting out the pieces for the back.
 
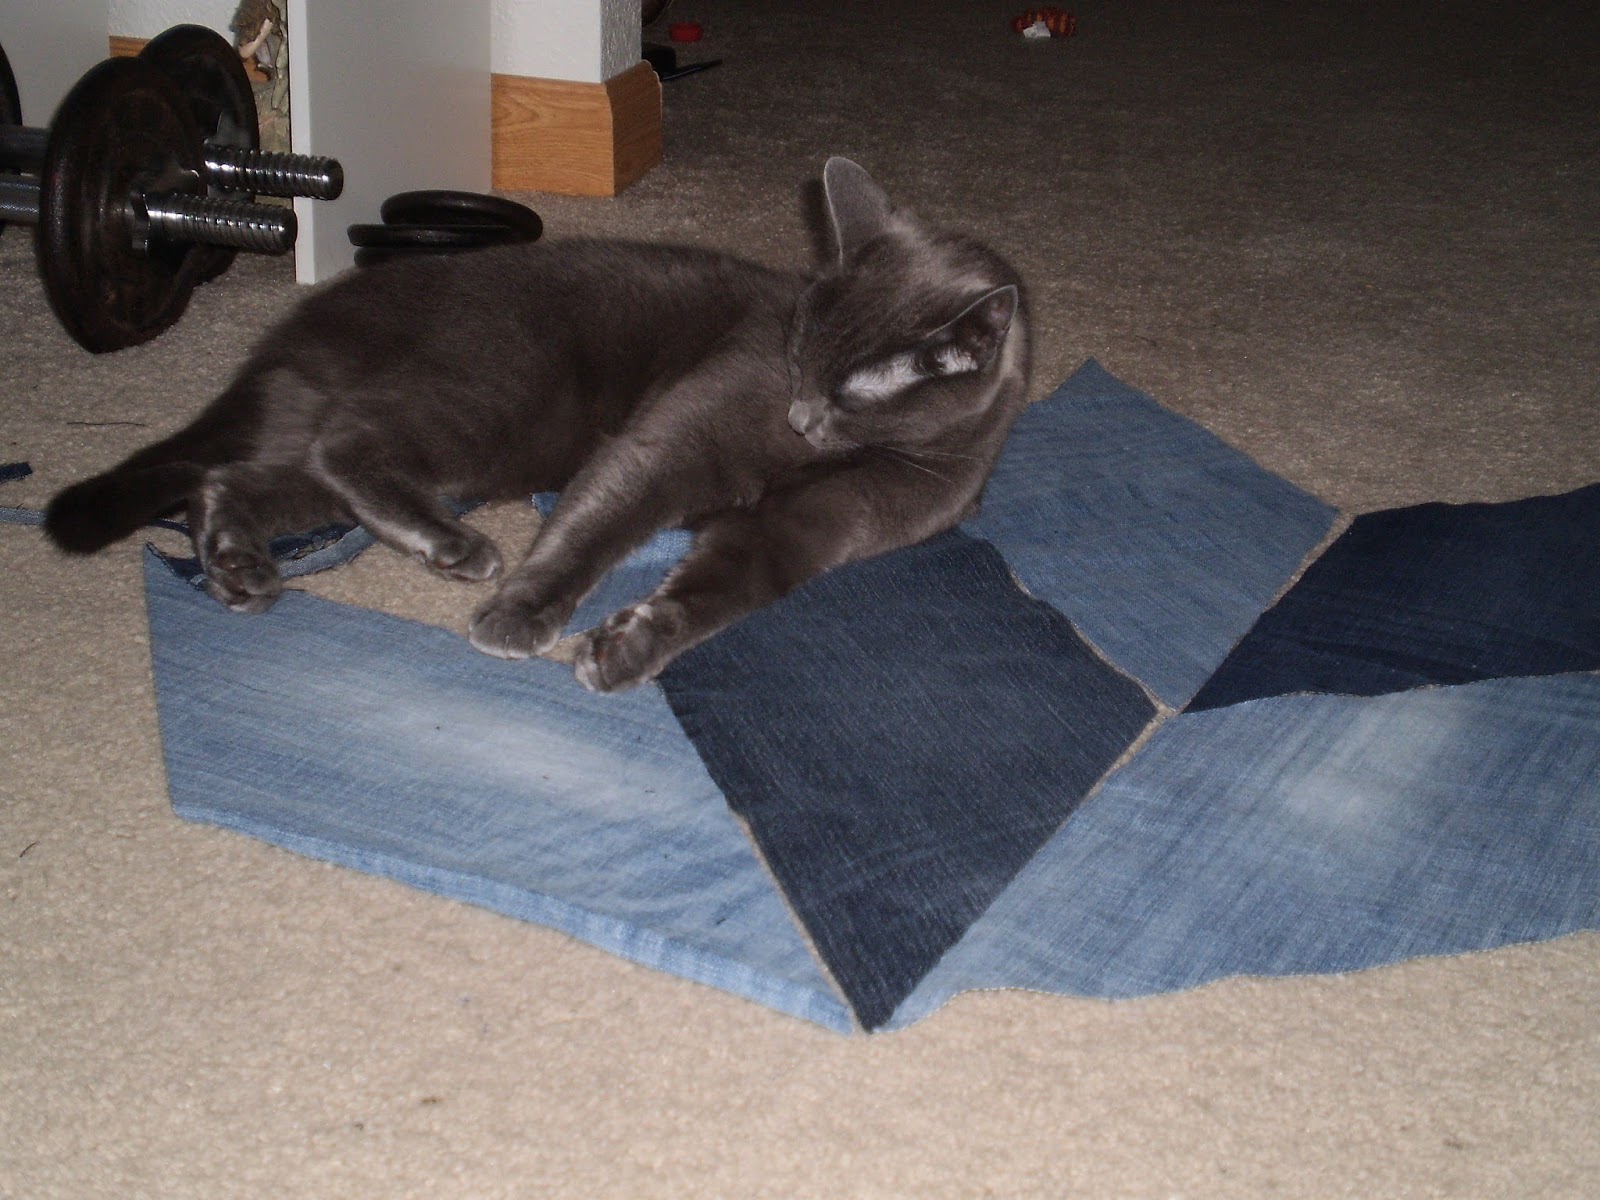
Belle was helping me work on the layout for the back of Jen's quilt a few weeks ago, which reminds me...
 
http://lilypadquilting.blogspot.com/
Coming in August!  Click the picture to visit Lily Pad Quilting to learn more about the sponsors and their giveaways.  All you do is take a photo of your pet on a quilt, submit it to the linky party in August, then vote for your favorite after the linky party closes.  They also do random drawings for winners.  I was so fortunate last year, I was a random drawing winner for a $35 gift certificate to Abbi Mays Fabric Shop!  My favorite parts of the Pets on Quilts show is reading the funny stories, seeing all the different Quilt Inspectors, and all the amazing quilts.  Hopefully you will join in the fun this year!
 
Ok, I have laid in bed all morning, and the cats keep coming in and telling me to eat, so I best get on my way.  I'm surprised John has let me stay in here this long, he knows I have quilting to get done!
 
Let's all get out there and sew!
~Brandy
 
Or go soak up some sun!

Saturday, March 14, 2015

The fastest I've ever made a quilt (so far)

Some background:
John and I had been planning a visit to his hometown of Eureka, CA for over a year before we were finally able to make it happen this last weekend.  It had been 5 years since we'd last been down!  It's a 12 hour drive, and we knew it would cost at least $400 just in gas, thus the wait.  Then gas prices dropped, and his grandmother offered to host us at her house, and we said let's do it!  So we drove down Thursday, and came back Sunday, then suffered all this last week from lack of sleep and exhaustion.  The price you pay!n
 
Now, one of the things I was most excited for was to meet our niece, Eryka, for the first time since she was only 1 month old the last time we saw her.  I decided the Saturday before we left that I wanted to take her a quilt, as her 5th birthday is next month.  Since John and I are working on keeping our budget under control I decided to try to work completely from the fabric I have on hand.  Turns out I had a charm pack from Southern Fabric called Textured Basics that I had ordered with a sale-priced charm thinking I would like the colors more, and it turned out it was a different palette than I care for.  But it is perfect for a 5 year old!  I like bright colors when used with black borders, so I used up the rest of the black yardage I had on hand.  I see why people invest in solid jellyrolls, it would save quite a bit of time in the assembly process.
 
 
We had all sorts of things happening that weekend, so I was squeezing in 10 minutes here and there throughout the weekend and the 3 days at work.
 
 
I tried using my bodkin to help keep the fabric in line all the way to the needle, and wow!  All those people on YouTube really DO know what their talking about!  LOL  Seriously though, when I tried leading the fabric in with my fingers it kept wandering off course, and with the bodkin it stayed where it needed to and I was able to keep my seams laying the way I wanted them to.
 
I had some assistance, they were quite confused about this "thing" in the middle of the racetrack (aka our living room)
 
  I had the top finished by Tuesday, then started on the back, which I had decided would be made with recycled jeans so she can use it outdoors with confidence.  I completed the back Wednesday morning, and ended up spray basting because I had just used all my basting pins on my log cabin quilt.  Turns out, spray basting is really nice!  It also doesn't stick to denim as well, FYI.  I assume it was because I didn't use quite enough, or just because the weight of the material.
 
I asked John to take a couple photos of me quilting, as proof that I really did do this :)
I used black Aurifil thread on top and in the bobbin, remembered to put in a denim needle, dropped my feed dogs, and lowered my tension to 2.  It is really nice not having to work around basting pins.

I have learned a lot from following Lori at The Inbox Jaunt, and highly recommend her site.
You may notice that I am wearing gloves that are not the ones you may normally see for quilters, that's because this is what I had on hand (ha ha), they are gardening gloves that are form fitting and they breathe.  I feel like they are a lot of help with maintaining control of my quilts as I move them around.

You can see thought that I didn't have problems with the back tucking on me, it actually held tight pretty well!  So I started the quilting process at 2pm on Wednesday, and finished putting the binding on (completely by machine) at 11:30pm.  I did stop to help pack suitcases and made dinner too.  I tried to add up the total hours on this quilt, 2.5 hours cutting strips and the jeans out, 3 hours piecing front and back, 5 hours quilting, and 1 hour for the binding.  Of course, all those numbers are approximate, I may have been even slower, or maybe faster!  It's so hard to keep track when you're doing all these other things in between.  But still, only 12 hours total to bring together a great picnic quilt for a 5 year old?
 
You can see here how I used the legs of the jeans to create the backing.  After I cut them apart, I sorted the pieces into two piles in a color order so it was kinda dark-light-dark etc., then sewed them end to end.  Then I cut I so each row would be the same length and have some extra for the quilting process.  I ended up having just enough, it's as if it were meant to be!

And here's pretty little Eryka, being a good model for Aunt Brandy.  She opened it while we were driving to Sequoia Park, and I loved it when she started tracing the quilting and said "Oh, I just love the pretty design"  I finally understood this statement: My heart sang when she said that. :)  Complete validation for my hard work (and last minute decision making).
 
Here is John and Joe (his brother) as we walked down the jetty.  Joe is his younger brother, and Eryka's daddy.  We were so glad to see him as a father, he's doing such a great job.

And Uncle John getting some fun times in with Eryka!  The trip went well, we got to see his parents in a healthy state of mind (recovering drug addicts) and visit with his grandma and her sister, Aunt Margaret, who is 92, and also spend quality time with Joe and Eryka.  We even saw John's best friend from high school for a little bit!  Also, the guys let me visit the local quilt shops, so here's a shout out to Bunny Hop, Ocean Waves Quilts, Fortuna Fabrics & Crafts, and Eureka Fabrics.
 
I am really proud of myself for making this quilt all with things on hand, I didn't even have to purchase batting for once!  I made sure to buy a large batting with a Christmas gift card while it was on sale at JoAnn Fabrics so I would have it on hand for my table runners and such, and this took a good sized chunk of it, but it was totally worth it.  For future reference, use at least 2 layers of batting if you are having jeans as the backing, the seams are quite thick and poke through a single layer easily.
 
This quilt measures 45" x 45" finished, and I signed it on the front, with a dedication to Eryka and the date.
 
I will sign off with a photo of our celebratory pie in honor of Pi Day (3/14/15 aka 3.1415926) which John and I ate at 9:26 this morning:

Have a super sparkly day!
~Brandy

Thursday, June 26, 2014

Matching points and Y-seams: Assembling my picnic quilt

So sorry for the wait!  What's with this summer cold-thing going around, sheesh.
Anywho, here's some of the steps I took to make assembling my quilt easier:

This quilt was full of many firsts for me, as I mentioned in my Perfect Picnic post, and I'm very happy to share with you what I learned.
 
I made my star points scrappy for this quilt, in the future I probably will not undertake such a challenge as it is so much easier to make strips of the colors and cut them out from there, here's a really good video from Kaye's Quilts on youtube, she explains in the introduction:  Easy Double Wedding Ring
 
 
However, the way I chose to make this one was scrappy, and so I laid the pieces out in pattern pleasing to my eye, then stacked all the rows the same, starting from the outermost point and going to the right, stacking one on top of the other.  As you can see in the picture above, I made sure to take a picture of my layout when I got it where I liked in so that when I dropped a pile of pieces, and I numbered the points, then numbered my stacks to correspond to the points in the picture.


I made sure to keep them numbered as I sewed them together point by point, I was really paranoid that I would get them mixed up.

 
So my trick for getting matching points on my star is pretty easy to do, and I only wish I'd done it before I'd had to take out one of the seams about 8 times, HOWEVER, it is now engrained in me that this is the best way to do it (sorry, started complaining there, naughty naughty :P )
 
1. Make a mark 1/4 inch from the edge of the fabric (not diagonally along the seam!) on both pieces that you are sewing together, I actually went to each intersecting seam and drew my lines with my disappearing ink pen from Joann Fabrics.

2. Next take a pin and place it exactly through both pieces where the drawn line intersects with the seam, and keep it pointing straight through.
 
3.  LEAVING THE FIRST PIN STRAIGHT UP AND DOWN add two pins that cross each other and hold the fabric in place where the first pin was marking them, then you may remove that pin.  The pictures below show how my points turned out by using this method.


I know the bottom blue looks off point, I just hadn't ironed it flat yet, not entirely sure why I went ahead and took this picture...
 
See, that's better!  By the way, I was ironing my seams all down, and ended up re-ironing them when I attached the points together, so if you have to do so it's no big deal.
 
I followed the same matching procedure to sew the points together, and sewed point 1 to 2, 3 to 4, etc, then the 1-2 points to the 3-4 points and 5-6 to 7-8 to form the half stars.  I sewed the seams from the blues to the reds in the very center, I'm not sure if that's part of why my piece turned out perfectly flat, but it may be one reason.

This is one of the few times I ever sew a seam open, but I did so at the seam between points 2 & 3 and points 6 & 7 to help reduce the bulk at the very center.  Then I very carefully lined up the center reds of the two halves, and actually sewed from the center out on these seams, overlapping my stitches about an inch across the center.  Still used the pins to match the points on here as well.
 
You can see how nice and flat it turned out.  I actually was not aware that it could end up domed in the center, but apparently it can.  I'm guessing that as long as you keep your seams accurate (preferably 1/4 inch) and take your time then you should end up with a flat star.  I found out yesterday while talking to the lady at Highland Quilts in Athena, OR that if you do get a dome in the center, you can take a very hot steam iron and set the iron on the fabric, and the heat/water will shrink your cotton enough to make it lay flat!  She did also say it's a slow process, not to rush it, it will also distort your fabric if you are pushing it around a lot.

So when it comes to the corners and setting triangles let me give you my favorite lesson I learned from when I made my mom's quilt for Christmas:  make them at least 1" larger than you think the measurement should be!  On my mom's quilt I went with the exact calculated measurement (and only so much fabric to work with) and ended up having to stretch it into place and force it to work, which is not conducive to a relaxing quilting experience.  On this piece I added the extra inch, having convinced myself it would be okay to lose some extra fabric, and I was so glad I did.  Strangely I didn't trim that much extra off!  I had plenty of space to cut along and still leave the 1/4 inch allowance for sewing on my inner border, which was something I'd missed on my mom's quilt.
 
There are a lot of great tutorials for Y-seams (here is a great video: http://www.jinnybeyer.com/quilting-with-jinny/tips-lessons/detail.cfm?instanceId=71DAA699-0AFE-8A90-85D38BA999BD18D8), my biggest suggestion is be sure to mark your 1/4" from the corners and pin, just like with matching your points on the star.  Then start from the center and work your way to the outside edge.  Also, none of your stitches should overlap at that starting point, that will cause a pucker of fabric.
 
I hope you found some of my insights enlightening, please leave me a comment if you have any questions or if you have other tips, I always love to hear other tricks of the trade!
 
~Brandy

Tuesday, March 18, 2014

March UFO Progress and Goals

Well first of all, let me share how happy I am that I got myself outside and working in my garden today!  It's in kinda sad shape, but I have hope :)  I am thinking of putting in grape tomatoes, jalepenos, and bell peppers this year, keeping it fairly simple.  I've had good luck with peppers, and the grape tomatoes do well taking care of themselves.  Here's pictures from my previous gardening endeavors:

A pepper, we like to start our seeds inside to give them a head start.
 
John helping me plant.
 
This crop included beans, which was a first for me and very exciting to watch grow!  And now I know not to worry about spacing them out, they need to be next to each other for support!
 
And we had some butternut squash that never did turn yellow/white like it was supposed too... but it was a prolific plant!
 
Our little plot.
 
Bell peppers
 
And a trio of tomatoes.  These pictures are from two years ago, we missed planting anything last year.  But like I said, we'll try and take it slow this time around and see if we can't get ourselves some fresh produce.


And now!  I have had the opportunity to finish only one project this month, and it was a long overdue one.  When I made my first quilt a year and a half ago I had scraps that I started turning into a pillow case to match the quilt, and I finished it on Saturday the 15th, National Quilting Day!
 
It has an invisible zipper on the bottom, which turned out pretty well I thought.  And you can see the quilting in this picture.
 
Isn't it funny how you puff something up and suddenly it looks rounded?
 
Now I just need to purchase a pillow form that actually fills it haha, it's an 18 inch size, all I had on hand was a 16 inch.
 
As for my piece I plan on completing next or at least moving to the stage of a "top":
 
This is the backing from my mom's car quilt.
 
I did not know the "white" squares were actually striped!
 
And so I'm working on finishing the top, and reassembling it for her.  To be quite honest, I took it from her possession about 8 months ago and got the center of the top done then, then promptly forgot about it until recently when John reminded me.  Yay for my husband!
 
Good luck to you all in your endeavors for the rest of this month, I'm looking forward to some relaxing sewing from here on out!
 
~Brandy