Sunday, March 30, 2014

Wave your Flags on a Stick!

 
Welcome hoppers!  Happy Monday!  I'm so glad to be sharing my work with you today, and I hope you'll leave some comment love for me and my fellow bloggers I'm sharing my day with.
 
March 31st
 
 
 A huge thank you to Mdm Samm and Thearica for hosting the hop, it's always a blast to follow along and see what everyone thinks up.  We're all so creative!  I also wish to thank our sponsors Flags on a Stick and Flag Outlet for helping inspire some ideas as well.
 
I'm warning you now, in case you haven't been here before: I have a lot of pictures.  Enjoy!
 
So my original flag plan revolved around my husbands and my love of football.  I thought to make a banner/flag-like arrangement to hang over our TV in the living room.  Then life happened and we went to Portland this weekend for my twin cousins 21st birthday party.
 
Cousins Jessica and Jennifer
 
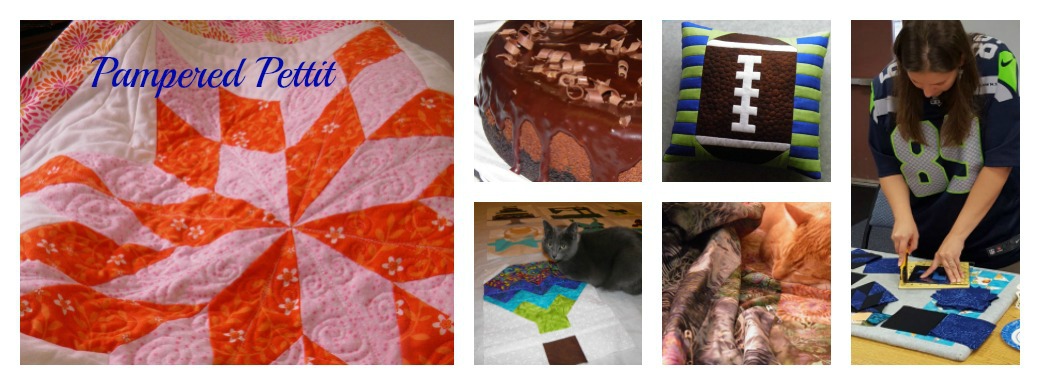
And so I got the following done for my football idea, and it's going to be great!
 
I'm actually showing off the seam ripper my Grandpa (mom's dad) made for me for my birthday :)
 
And here is my design process, and the pencil my Grandpa gave me as well (which he also made)


My husband's team colors

Yup, that's right, we live in Washington :)
 
I got these AWESOME patches on an Etsy site: Wiggums World
They are embroidered and iron on, and the quality is fabulous!  Plus they shipped within 3 days for me, literally across the US because she's in Massachusetts.
 
The idea is to have the team flags on either end of the "GO TEAM" and drape them across the alcove our TV sits in.  It will be amazing, especially when we get our full size helmets to display up there too.  Hahaha, I just have to laugh at us, we really do like supporting our teams that much!
 
Well, once I realized I would not be able to finish these, I happened to visit sewwequilt.com and the flag of the day had KITES all over it!  Well, I LOVE KITES!  It's a pastime I don't get to play with often enough, and I own some pretty awesome competition kites I inherited from my other Grandpa (my dad's dad).  Flying kites holds special memories of him.  He passed away, jeez, 17 years ago now?  Wow.  Well when he and Grandma would visit on their drive from Montana to Arizona (snowbirds...) we would always go down the street to the big field next to my middle school and fly.  I can actually remember one time being dragged for a ways because the wind was that strong!  So much fun.  Also, my husband flew that rainbow kite on the wall with me at the beach, and it was his first time ever flying a kite, which was a thrill for me to share with him.
 
So I started playing with the following:
 
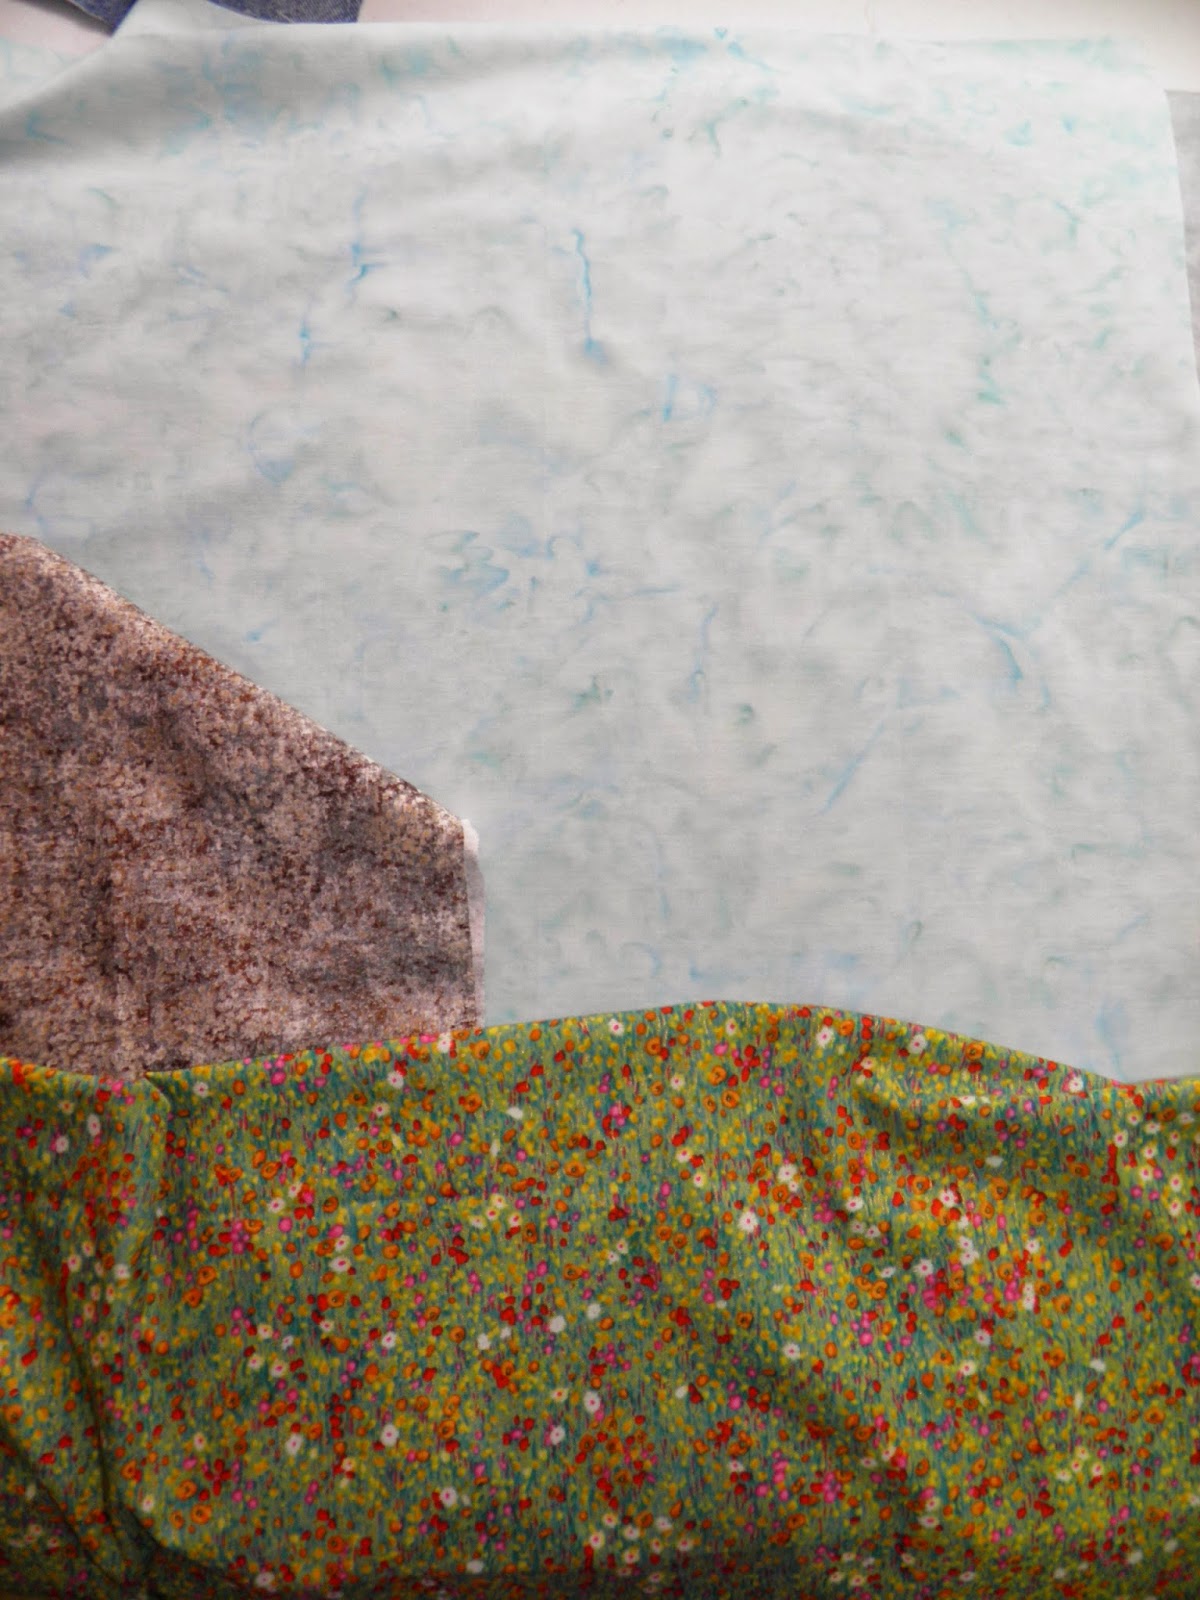
Found a fat quarter of a perfect blue batik for sky, and testing whether or not I want rocks with my flower field.

After I got the field on, I decided against anything more in the background.  Which actually works well with showing my love of simplicity.

Made a couple flags, and of course had to have a little quilt.

It actually has a back and everything!
 
To attach it I just tied it to the front layer of fabric, but it looks more realistic now.

Then added kite strings.

Utilizing the 4.5 hour drive to Portland for the birthday celebrations.  Had I really thought ahead, I could've taken my laptop with me... silly me!
 
I hand-stitched my wind on one part, I'll probably add more later to get it filled in a little more.

I just love the stripes!  Normally I abhor working with directional fabric, but in this case, it works just fine.

Finished!

See the rainbow in the corner, a kite decorates my sewing room!  And thanks again John for helping hold my Flag to show my friends! 
 
 So that's my flag, I hope you enjoyed seeing my happy memories, and have a wonderful time browsing the other blogs today!  See you again soon!
 
~Brandy

Thursday, March 20, 2014

Actual progress, amazing what 10 minutes will do!


So Pat Sloan challenged us to get at least 10 minutes a day of sewing in for the rest of this month, well of course that turned into 60 minutes last night and 15 this morning, but hey!  Progress happens at that point!

This is my mom's car quilt, the one with the jean backing talked about in the previous post.  I tried drawing it out and coloring with the colored pencils but it just wasn't clicking, didn't seem like it would work no matter what I did (limited on my pieces of fabric).  So I finally just grabbed the piles of rectangles and tossed them on the floor and this is what I came up with!
 
 
This is the top piece, I actually have to sew the top and bottom separately from the sides since I decided to have that center twisty piece.  I'll think that one thru a little better next time, borders work way smoother than the way I'm going about things!
 
A close up for a better idea of the true colors.
 
And for once I have an afternoon off, so I am going to try and get this top finished before dinner, being the first day Spring I think it's a fitting accomplishment!
 
UPDATE:

Looking great.  Just have to sew it to the back and batting and tie it together, then on to my FLAG!
 
Thanks for stopping by!
~Brandy

Tuesday, March 18, 2014

March UFO Progress and Goals

Well first of all, let me share how happy I am that I got myself outside and working in my garden today!  It's in kinda sad shape, but I have hope :)  I am thinking of putting in grape tomatoes, jalepenos, and bell peppers this year, keeping it fairly simple.  I've had good luck with peppers, and the grape tomatoes do well taking care of themselves.  Here's pictures from my previous gardening endeavors:

A pepper, we like to start our seeds inside to give them a head start.
 
John helping me plant.
 
This crop included beans, which was a first for me and very exciting to watch grow!  And now I know not to worry about spacing them out, they need to be next to each other for support!
 
And we had some butternut squash that never did turn yellow/white like it was supposed too... but it was a prolific plant!
 
Our little plot.
 
Bell peppers
 
And a trio of tomatoes.  These pictures are from two years ago, we missed planting anything last year.  But like I said, we'll try and take it slow this time around and see if we can't get ourselves some fresh produce.


And now!  I have had the opportunity to finish only one project this month, and it was a long overdue one.  When I made my first quilt a year and a half ago I had scraps that I started turning into a pillow case to match the quilt, and I finished it on Saturday the 15th, National Quilting Day!
 
It has an invisible zipper on the bottom, which turned out pretty well I thought.  And you can see the quilting in this picture.
 
Isn't it funny how you puff something up and suddenly it looks rounded?
 
Now I just need to purchase a pillow form that actually fills it haha, it's an 18 inch size, all I had on hand was a 16 inch.
 
As for my piece I plan on completing next or at least moving to the stage of a "top":
 
This is the backing from my mom's car quilt.
 
I did not know the "white" squares were actually striped!
 
And so I'm working on finishing the top, and reassembling it for her.  To be quite honest, I took it from her possession about 8 months ago and got the center of the top done then, then promptly forgot about it until recently when John reminded me.  Yay for my husband!
 
Good luck to you all in your endeavors for the rest of this month, I'm looking forward to some relaxing sewing from here on out!
 
~Brandy


Monday, March 10, 2014

Pacifier Keeper - QUICK baby gift

Here's one of my favorite things to make for my friends who are having babies, a pacifier keeper.  They are useful, they save money because you (or your friends) won't have to keep replacing pacifiers that baby tosses away, are inexpensive to create, and as the title says, quick to make!
 
 
 You will need:
 -1 pack suspender/mitten clips (comes with two, shown a couple
     pictures below)
 -either 12 inch pieces of jelly roll strips or enough fabric to cut a
     2.5 inch by 12 inch piece
 -Velcro by the yard (you use less than 1 inch per keeper)
 
 This picture shows the length of a keeper fully laid out, they are closer to 9 inches when shut.  You can see I used two fabrics to make this one long enough to wrap around the pacifier ring and still be able to clip to the babies clothing.
 
Cutting my 2.5x12 inch piece of snuggle flannel.
 
I don't usually care for directional fabric, but it worked out well in this case.
 
Here's the clips I have been using.
 
First you want to fold the piece in half right sides together.
Then you'll want to make sure the strip will be able to fit through the clip.
 
And the openings on these clips are about 1 inch wide.
 
I also cut my Velcro a little less than one inch long.
 
I am sewing my strip a bit wider than 1/4 inch to be sure the finished size will be less than 1 inch across.
 
Then turn it inside out in whatever manner works best for you.
 
On this one I used one of my crochet hooks.  I was able to get the hook to grab onto the fabric I had turned under with my fingers, and pull it the rest of the way through lickety-split!
 
This particular hook is size "H".
 
Then press your fabric flat.
 
Next sew 1/8 inch away from each edge for a nice, finished look.
 
Like this!
 
Next you thread the end through the clip, and fold it over about 1/2 inch.  I only pinned at this point to take this picture :)
 
I chose not to turn the end under here, instead I just used a zig-zag stitch to hold it together and keep all the loose end threads from unraveling.  And just so you know, I personally went over this part 3 times, because I know how babies will pull on things and I don't want this to come apart.  You could also baste it in place first, and then run a zig-zag over the top.
 
Here is how that end looks when you're done.
 
On this other end you will first sew the end of the fabric closed, either by folding in under or just run a zig-zag over it.  Then cut the rough side of the Velcro shorter than the soft side to allow for a bit of adjustment around the pacifier ring.  Next sew the rough side all around the edges, placing it about 1/4 inch from the end of the fabric strip.
 
Now place your soft side about 4 inches from the edge of your rough side and sew all around the edges, feel free to back stitch on the sides for extra security.
 
Here you can see where I sewed around the Velcro.
 
And here is the finished product!  I hope you make someone's life easier with one or two of these, I've even got a couple that are holiday themed, just because!